Introduction
In the previous post I introduced Workflow Management for Pimcore by walking through each of the concepts seen in the configuration file. The examples shown included a few configuration options that may be chosen in a use-case for a PIM system.
In part two I'll continue with the a similar use-case and explain in more detail the configuration options that apply to actions within Workflow Management feature.
How to Configure Workflow Actions
Let's imagine that we have an existing Pimcore installation for PIM & e-commerce. The installation maintains products and manages orders and shipping. Our pimcore user wants to ship a paid order to the customer.
There's most likely a few things that need to happen in relation to shipping an order to a customer. In this multi-channel setup we would like to automate as much of this as possible so our staff can process more orders per day.
Let's assume that shipping an order can't be fully automated for the purpose of this example ;-)
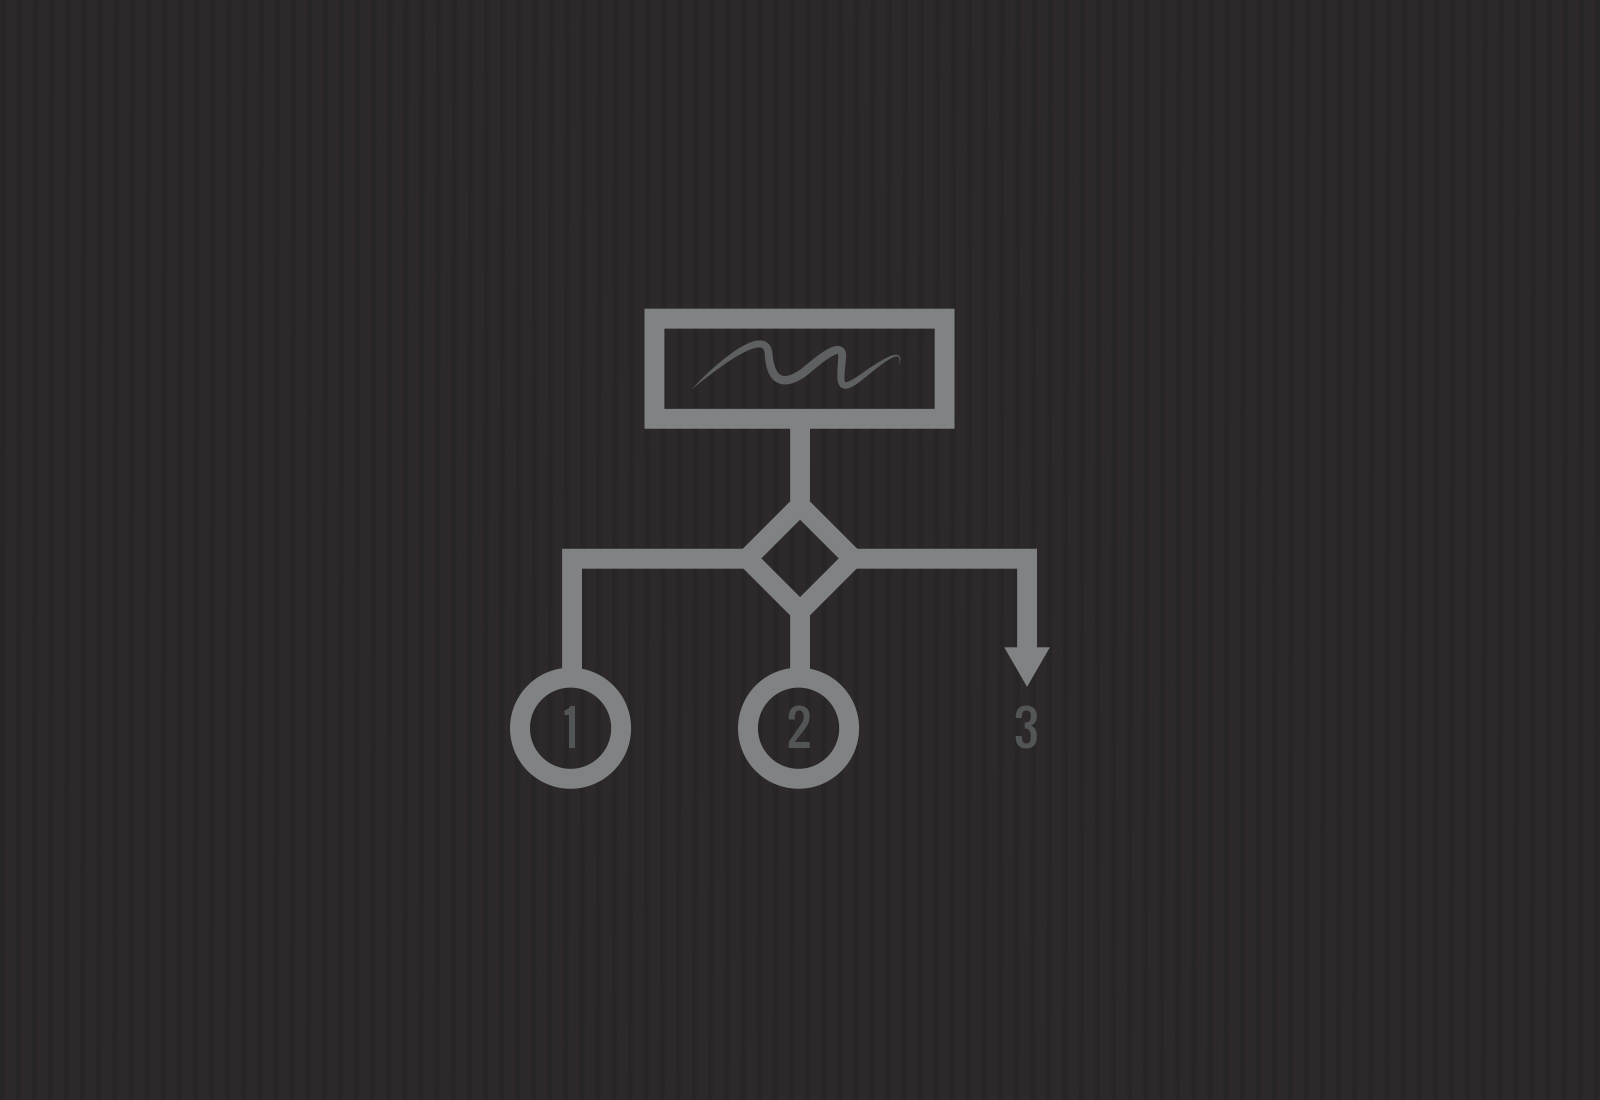
1. The Basic Action
The "Ship Order" action requires the following attributes as a bare minimum:
- A Name - must be unique for that workflow.
- A Label - shown in the admin panel to users.
By itself this action does nothing, if a user were to perform it they would see a success and a new line in the notes tab of the order object. To make this order transition to the shipped status, we can use the transitionTo attribute and provide a selection of states, and a selection of statuses. Like so:
We have now defined a transitionTo attribute that specifies that the only possible state from this action is "shipped", and then there are two possible statuses that the user can select.
Note: Both states and statuses mentioned in actions must be present in the state / status part of the workflow configuration.
So that's a basic action with a transition, if a user performs this action and selects a status a note will be recorded against the order and the order will move to being in the selected status.
Hint: It's also possible to specify whether or not notes are required by using the notesRequired attribute
This isn't everything our "Ship Order" action may require - What if our user needs to store details of the Ship action in a more structured format?
2. Collecting Additional information in Actions
By default all actions produce a note entry allowing users to type in the description part of that note through the basic action panel. If our action requires additional information we can configure it to add more fields to the action panel. This is defined through the "additionalFields" attribute.
In our example of Shipping an order, it is likely that we'd need to add information such as a tracking number, expected time of delivery, and maybe a pickup time for the driver. Let's update the configuration configuration to do just that:
These fields will be added to the element notes when the action takes place. The types you can add to the action panel are:
- input
- textarea
- date
- datetime
- select
In each additional field, you must specify a name, title, and whether or not the field is required. In selection dropdown fields you must also specify an array of options.
3. Doing more with AdditionalFields
In some cases, the additional information we collect in an action might be relevant to an object. For instance we might want a tracking number to be stored with the Order instead of in the associated notes. This can be achieved by specifying a setter function in the additional fields configuration.
The setter function must be a public method in the Object Class or extended classes if using Classmapping.
Now we have an action for Shipping an order that collects additional information from the user and stores it in notes. We may also want this action to print out a packing label automatically rather than the user have to manually do this. This is where the events attribute of actions comes in handy.
3. Hooking into Action Events
When an action happens, there are several event hooks fired. These are as follows and in order of execution.
- preAction
- before
- success / failure
- postAction
NOTE: preAction and postAction are global events fired for every action no matter what the configuration - I'll cover these in part 3 of the series
It's quite obvious from their names what each event does, so I'll give just one example; success. Let's configure the action to listen for success events
Above we've specified that on the success event should call a public static function in our code somewhere called \MyWebShop\Web2Print\ShippingService::printPackingSlip(). The skeleton for this function would look something like:
The parameter passed to this method will be Zend_EventManager_Event that encapsulates all of the data you need to perform success logic.
Happy coding!

Technical Director & Co-founder of Gather. Paul is a Manchester born computer scientist with broad full stack web & mobile application skillset, he has helped shaped Gather's technology, and build many large scale web applications.