INTRODUCTION
As part of a series of posts and tutorials on Workflow management, I'd like to kick off with an introduction to Pimcore's workflow management concepts and highlight a few examples of what it can be used for.
The idea of Workflow Management is to provide a structured, and orchestrated set of steps to maintain and improve data quality.
Pimcore has three main types of data in the form of Documents, Assets and Objects; these are known as Elements. The workflow feature in Pimcore builds on top of these elements and their associated features by introducing a “Workflow Configuration”. This configuration is designed to be lightweight and highly configurable for developers to extend Pimcore to do much more with data, through event hooks and a simple user interface.
There are several new concepts in Workflow Management and each is defined within the configuration file. The complexity of this configuration file can vary from the very basic to the extremely extensive, it really does just depend on your use-case.
PIMCORE WORKFLOW CONCEPTS
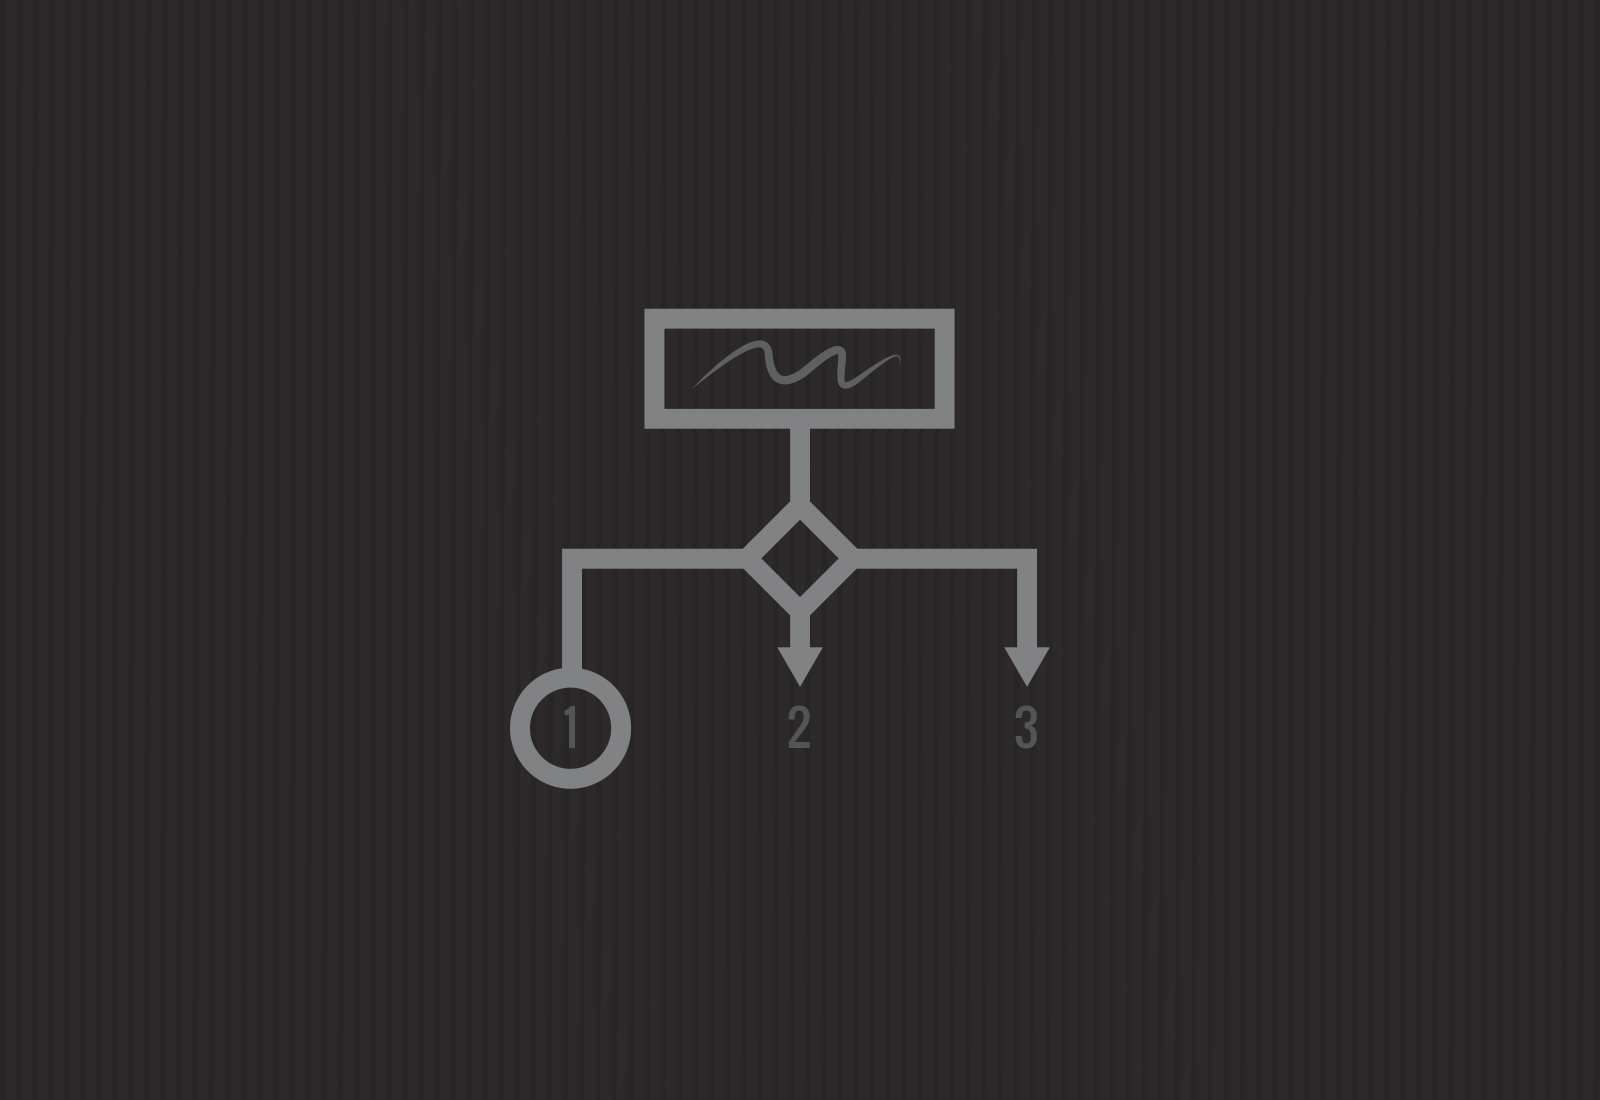
States
States can be considered as the starting point. They are an overview of where an element is within the information lifecycle and are great for building indicators or segragating information on a broader scale. For example a developer could create a RAG/Traffic light configuration of states to help pimcore users quickly identify the position of information. This is achieved by the following:
Statuses
Statuses represent the exact position of elements within a workflow, they help define what information can be viewed, edited, and processed at each point. Elements can transition between different statuses through actions (below). The most important part of statuses comes into play with Object Classes; statuses have the ability to inject different Custom Layouts onto Objects. This can help developers quickly limit the ability of a user to change object information.
For example, when a product is put "live", the workflow could remove the ability for users to edit pricing information directly, and instead define a process to go through to change a price through available actions and notes to audit.
Statuses themselves are again simple to configure:
Actions
Actions are where the fun starts. Through actions we define the following:
- How elements move between states and statuses
- What information is required in order to transition elements
- What happens before an action takes place
- What happens after an action takes place
- What happens if the action fails
- Who can perform that action
- Who receives notification that an action has happened.
For instance, earlier we used the example of a price change on a product. An action for a price change could be configured as follows.
The configuration above defines an action to "Change Pricing Information" on a Pimcore Object. It shows how we can very quickly say that in order to change the price of a product in our PIM, users must perform an action. The action says that users must also add notes as well as the new price in order to complete the action. Additionally a price change is restricted to certain users and will send a notification to three other pimcore users whenever it happens.
Transition Definitions
Transition Definitions are what hold the workflow together. These represent the starting points for all actions, so for instance: "Given that my product is Live, I can only do the following"
Transition definitions also allow "Global Actions" which are actions that can be performed at any point in the workflow. For instance "Making a Telephone Call" in relation to an element
In this example we have defined that for an element that is "Live In Store", users can:
- Place on Hold
- Removed from store
- Pricing information changed
The configuration offers the chance to extend actions with more configuration should this be needed, more on that in part 2.
THE RESULT
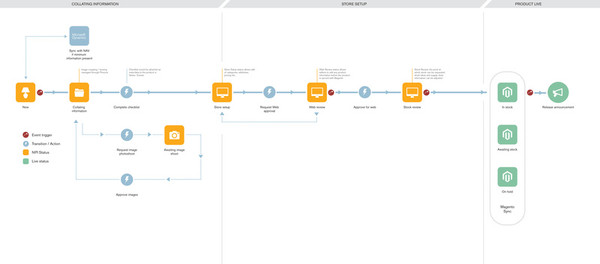
So that's it! Using Workflow Management, you can define powerful processes for your clients. I hope that this introduction to Pimcore Workflow Management has been helpful. In Part 2 I introduce some of the advanced pieces of the configuration.
In the mean-time here's a high-level example of a simple process for introducing new products to an e-commerce system. More so, something pretty to look at!

Technical Director & Co-founder of Gather. Paul is a Manchester born computer scientist with broad full stack web & mobile application skillset, he has helped shaped Gather's technology, and build many large scale web applications.